This post was originally published on May 11, 2015. The tutorial was updated on November 20, 2017.
A few weeks ago, I made a 3D model of my brain and sent it to Shapeways to get it 3D-printed. My little brain arrived a few days ago and I’m blown away by how good it turned out. I don’t want to be overly dramatic, but I think this is one of the coolest things I’ve ever done. The whole process was relatively straight forward once I figured out the best program to use. I wrote a step-by-step tutorial of what I did below in case you want to print your brain too.
And if you want a brain on your desk and you don’t care whose it is, you can order a 3D model of my brain here.

INSPIRATION & Background
I have a deep fascination of the human brain and I’ve wanted a 3D model of my brain for quite some time. I considered using a modeling software (like Blender) to create my own 3D brain model based on my MRI scans, but I quickly abandoned that idea when I imagined manually outlining the cortex one slice at a time.
A few months ago, one of my friends posted a link to a company that sells custom brain models that range from $165.00 (for half scale models) to $342.00 (for full scale models). I was tempted to order a model, but I finally decided that it was too expensive. I love brains, but not quite that much.
Then, a few weeks ago, I came across this blog post that included do-it-yourself instructions for creating a 3D model of your brain for 3D printing. The neuroscientist and cheapskate in me rejoiced. My computer was being serviced so I bookmarked the page and waited until I got my laptop back.
When I finally sat down to follow the tutorial, I found that it left out some crucial steps and required a lot of manual editing. I spent a few hours looking at other tutorials, downloading software packages, and trying to create a halfway decent 3D model, but none of the models I created had anywhere near the level of detail I wanted.
Finally, I found this tutorial which describes how to create a 3D model using Freesurfer. I had been wanting to learn how to use Freesurfer for awhile, so it was a win/win. The tutorial is pretty thorough, but it didn’t explain the installation of Freesurfer, which ended up being somewhat complicated. In case you’re like me and haven’t used Freesurfer before, I added detailed information about how to download and install Freesurfer below. If you already use Freesurfer, you are in luck! You are only a few steps away to creating your own 3D brain model (you can skip to the “Create the 3D brain model” section).
STEP 1: GET YOUR BRAIN SCANNED
- First, you need to get a T1 anatomical scan of your brain with MRI. Okay, I understand that that’s easier said than done, but there’s no way around it.
- Add all of your DICOM files from the T1 anatomical scan into one folder. My folder is named “t1_mprage_DICOM.”
STEP 2: DOWNLOAD AND INSTALL FREESURFER
If you already have Freesurfer installed, skip to the next section.
- Download Freesurfer here. I downloaded the freesurfer-Darwin-lion-stable-pub-v5.3.0.dmg file.
- If you don’t already have XQuartz installed, you’ll have to download and install it in order to use Freesurfer. Download the latest release here.
- Install Freesurfer by following the detailed instructions here. You should come to a screen that looks like this:

- In order to get everything set up correctly, you have to modify your .profile file (the first time I tried to install Freesurfer I didn’t read this this page (oops), and I ran into trouble later on). Your computer may be set up differently, so these steps may not apply to you.
- Modify your .profile file by typing the following command in the terminal window (I already have a .profile file that is named .bash_profile so I opened that file):
>> touch ~/.bash_profile; open ~/.bash_profile
- Copy the set of command lines from the install window and paste it at the bottom of the file that pops up. My file looks like this:

- Get an installation key by filling out the form here. You will receive an email containing information about your license. Copy the text in between the –CUT HERE– lines and paste them into a new TextEdit file. Convert the file into a plain text file by clicking Format –> Make plain text. Name the file ‘license.txt’ and save it in the Freesurfer folder.
STEP 3: CREATE THE 3D BRAIN MODEL
- In your terminal window, type the following command to set up Freesurfer:
>> source /Applications/freesurfer/SetUpFreeSurfer.sh
- We will use the function called recon-all to create the 3D brain model. Detailed information about the recon function is available here.
The function uses the following format:
>> recon -all -i <DICOM file> -subjid <folder name> -all
Replace the <DICOM file> part with the path to any one of your DICOM files (and not the folder that holds all the files). Replace <folder name> with the name you want to call the folder that will contain all of the output files. The folder will be added to the same directory that your DICOM folder is in. My function looked like this:
>> recon-all -i Documents/my_brain/t1_mprage_DICOM/IM-0001-0001.dcm -subjid me_in_3D –all
- Enter the command into terminal and press enter to start the analysis. The analysis takes a long time. The reconstruction took 8 hours on my computer, but others estimate that it can take between 10 and 20 hours. Make sure that you turn off your computer’s sleep mode so that it won’t go to sleep while the analysis running.
- After the analysis is completed, all of the output files should be located in the folder you named. In the folder, you should have another folder called “surf” which contains the surface reconstructions. We need to transform these file formats into a format that is used in 3D printing. To do so, navigate to the surf folder in the terminal and enter the following commands:
    >> mris_convert lh.pial lh.pial.stl
    >> mris_convert rh.pial rh.pial.stl
STEP 4: 3D PRINT YOUR MODEL
If you don’t have access to a 3D printer, you can get your brain 3D printed by a 3D printing service. I used Shapeways so I’ll show you how to order from them.
- Go to the Shapeways website.
- Click “Design” in the top navigation menu. Then click the blue “upload” button underneath the Shapeways logo.
- Sign in to your account or create a new one and click “UPLOAD” again. A box should appear that looks like this:

- Click “Select file” and load the “lh.pial.stl” file that you just made. The model units are in millimeters so keep that radio button checked. Click “UPLOAD.” The model should take a few minutes to upload. Once the model finishes uploading, you should see a screen like this:

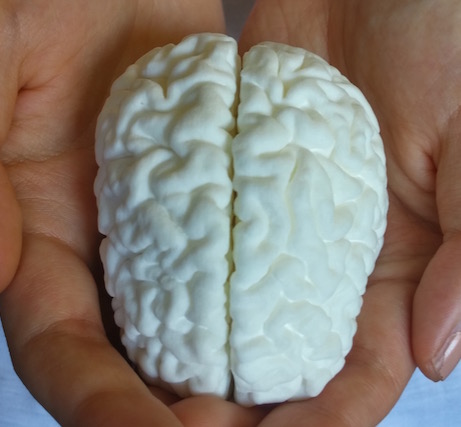
- If you scroll down, you can see the prices for creating a 3D printed model in different materials. A full size replica of my brain costs about $250.00 per hemisphere, but it may cost much more if you have a bigger brain. If you want to scale your brain down (and save a lot of money), click the “RESIZE” button and change the SCALE % from 100 to 50. This will create a 3D printed replica of you brain that is 1/8 of the actual volume.
- At this point, you can decide what material you want to use to print your brain. I went with the strong & flexible material in polished white.
- Click the “View 3D tools” link under the name of the material you want to use.
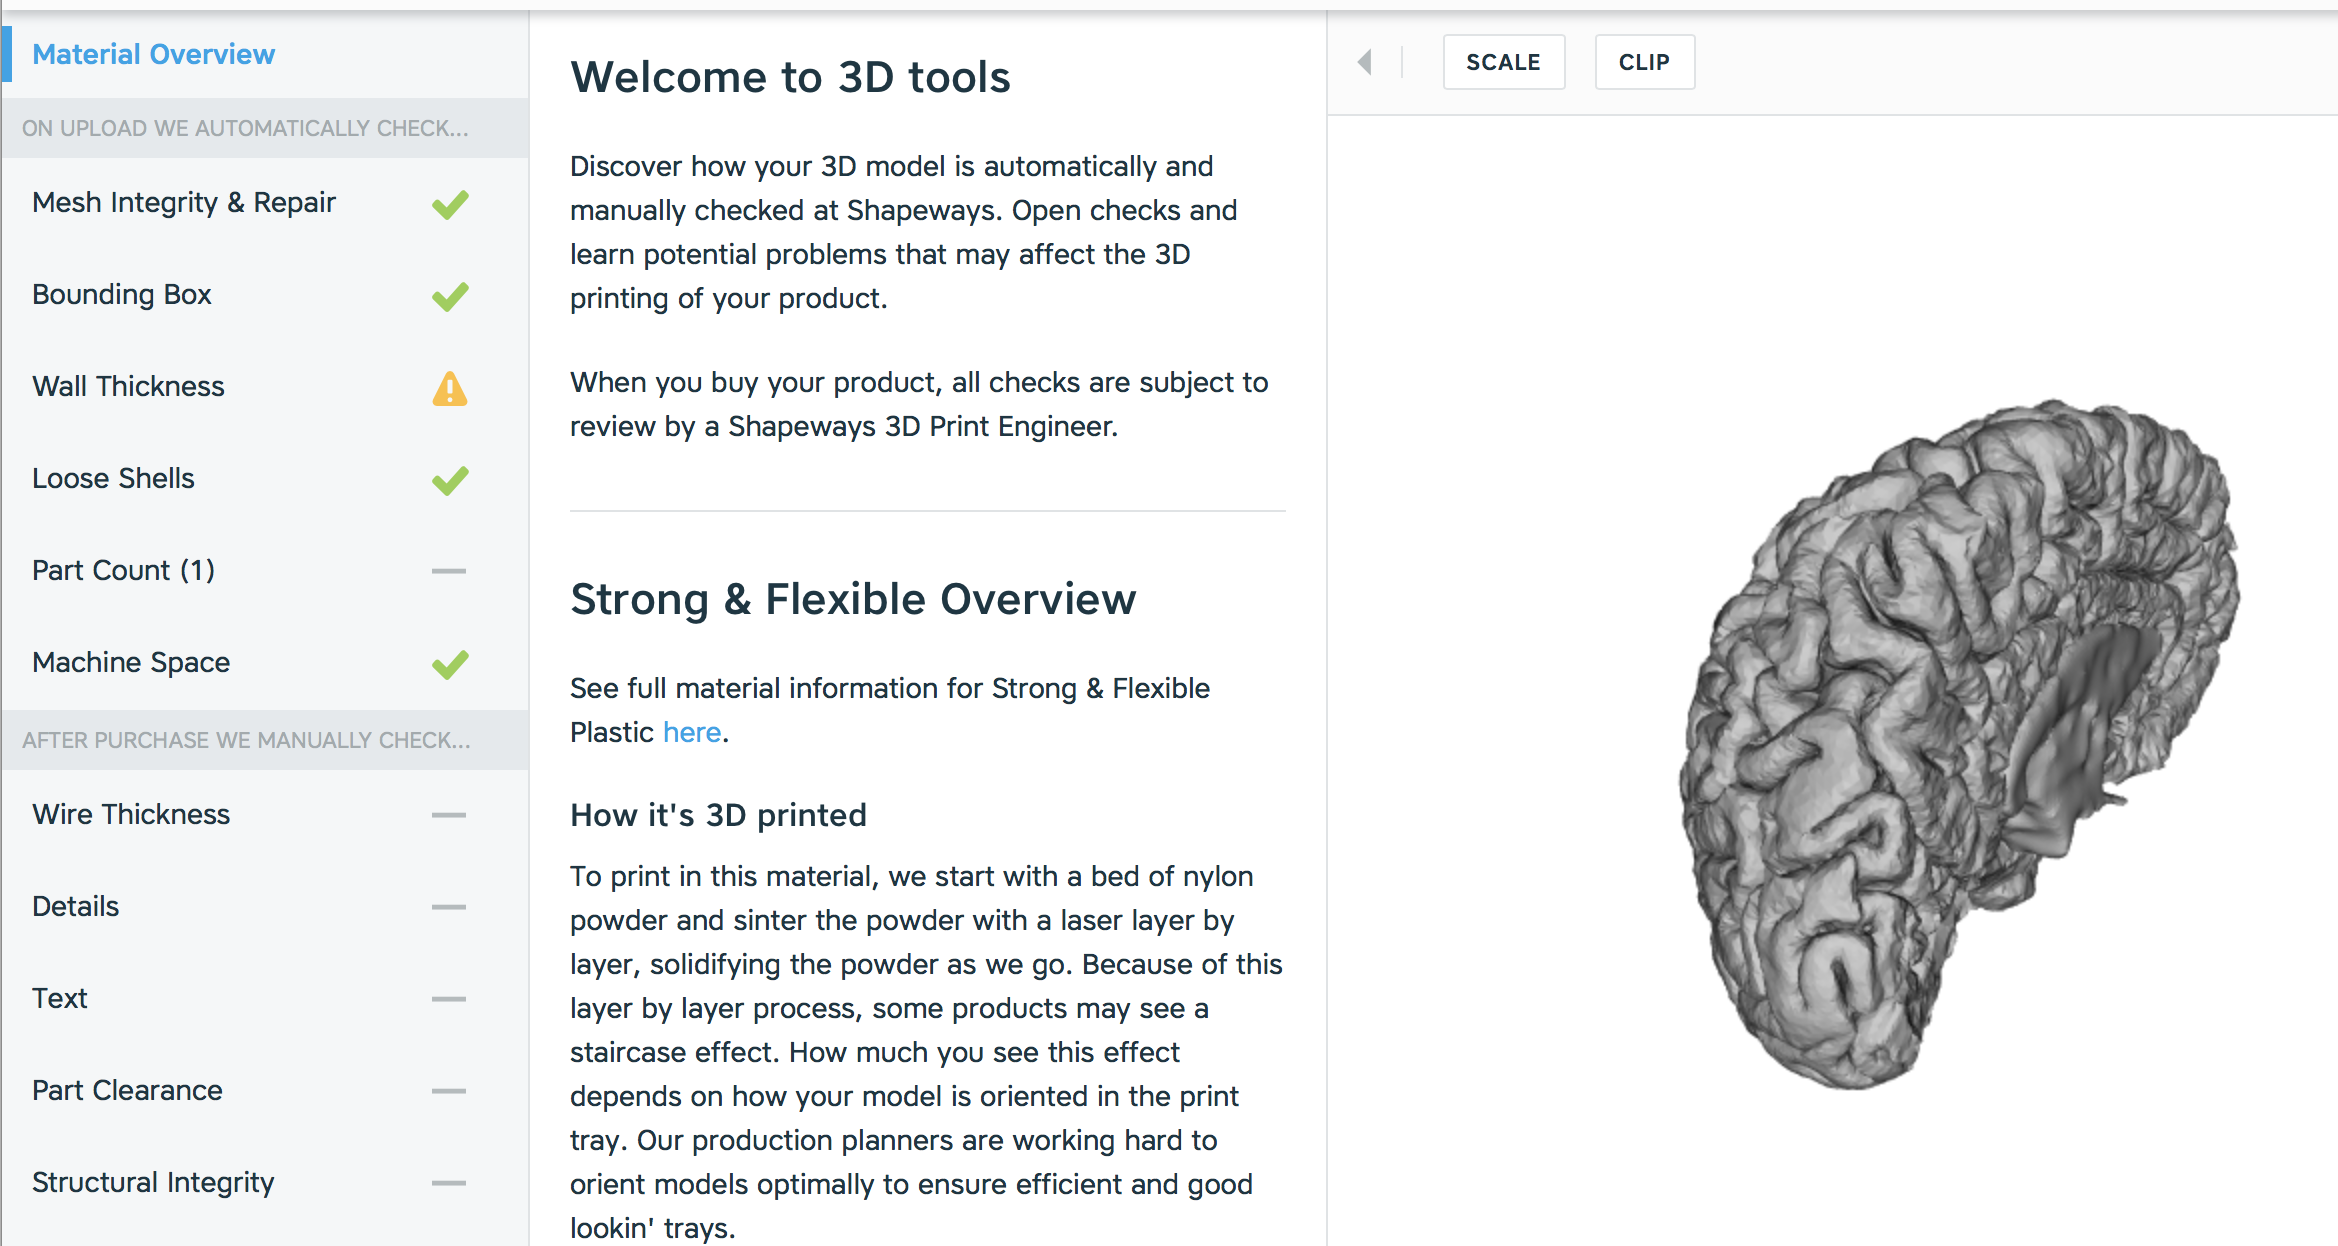
- Shapeways 3D tools will analyze your model and identify potential problems with printing. For one of my models, I had a wall that was too thin. To fix thin walls, click on the “Wall Thickness” menu item on the left of the page, then click the red button that says “FIX THIN WALLS.” Shapeways will automatically adjust your model for you.
- Go back to the model editing page and add your desired model to your shopping cart. Now repeat these steps for your right hemisphere model. Check out when you’re ready and your little brain will be on its way! I got my brain in less than two weeks.
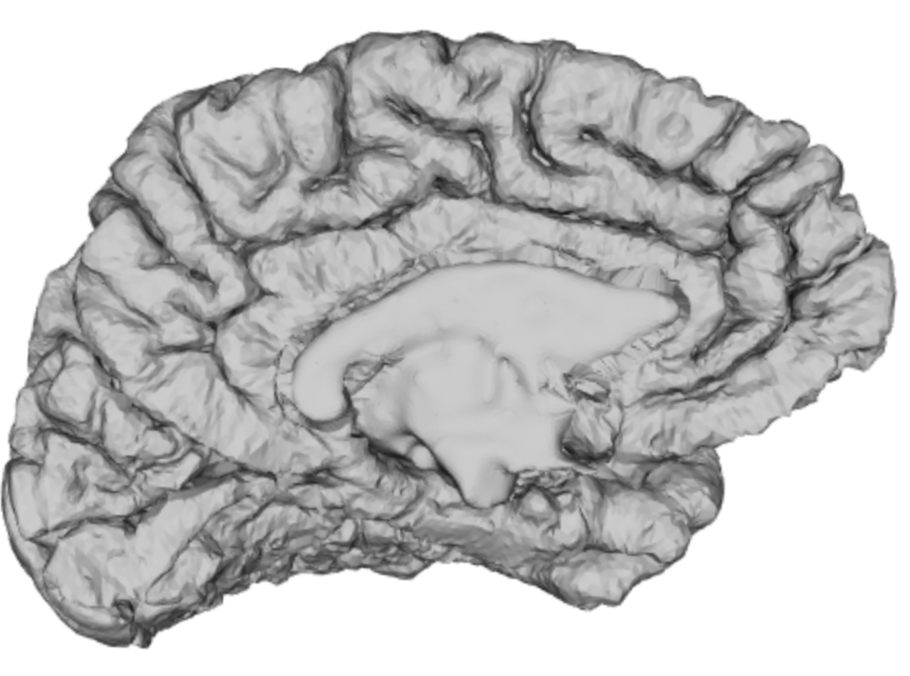
Here’s what my model looks like in Shapeways:

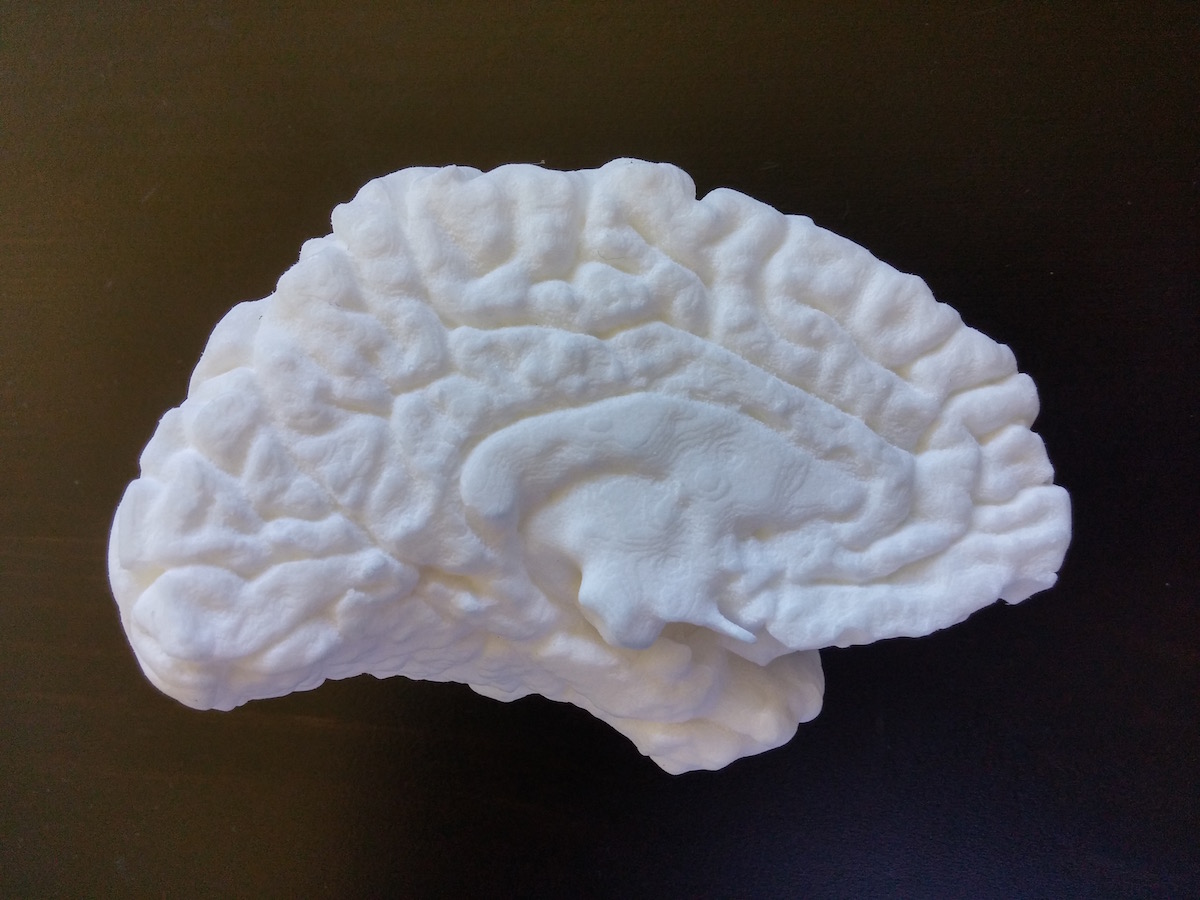
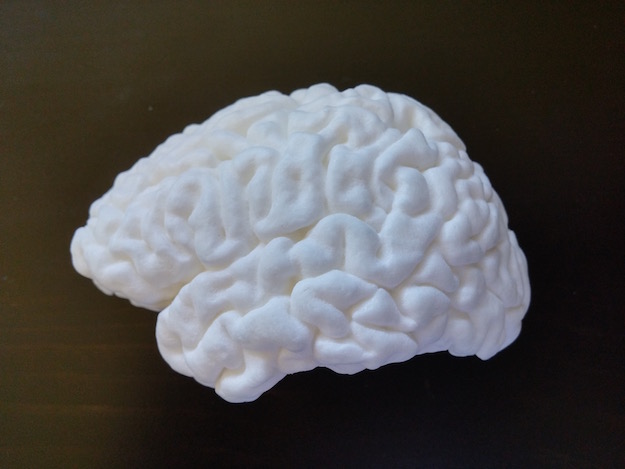
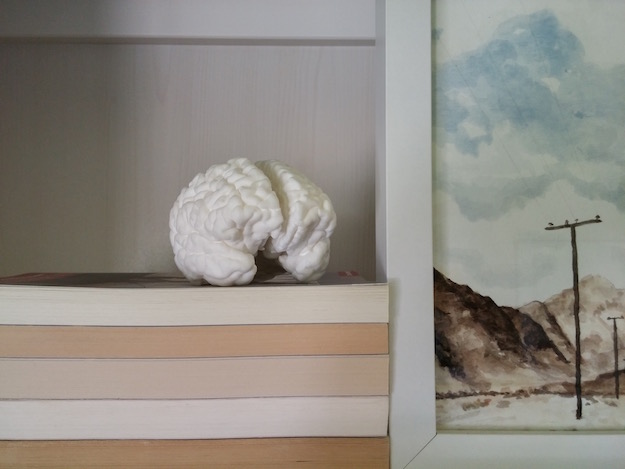
And here are some glamour shots of my final 3D printed brain: